
Roof Soft Washing, Step by Step: Why the Rinse Is the Part Nobody Sees
There is a version of roof cleaning that takes about forty minutes. A truck pulls up, someone runs a hose to the ladder, sprays the roof from the eave, packs up, and leaves. The algae dies over the next week, the roof lightens, the customer is happy, and nobody ever finds out that the solution was never rinsed off. We do not work that way, and this post is the long answer to why. It follows a two story brick home in Inverness we soft washed in late July 2026, from the walk around before anything got wet to the neutralizing rinse at the end of the day.
Key Takeaways
- The Asphalt Roofing Manufacturers Association tells cleaners to dwell the solution 15 to 20 minutes and then rinse thoroughly with low pressure water. The rinse is in the instructions, not an upgrade.
- The same guidance warns not to let the solution dry on the shingles, because dried solution cannot be rinsed off properly afterward.
- Plants are protected by water, not by luck. Beds get soaked before the work, kept wet during it, and flushed again after.
- The easiest way to check whether your roof was rinsed is to look at the ground. A rinsed roof leaves wet gutters, wet downspouts, and wet driveway.
What Was on This Roof
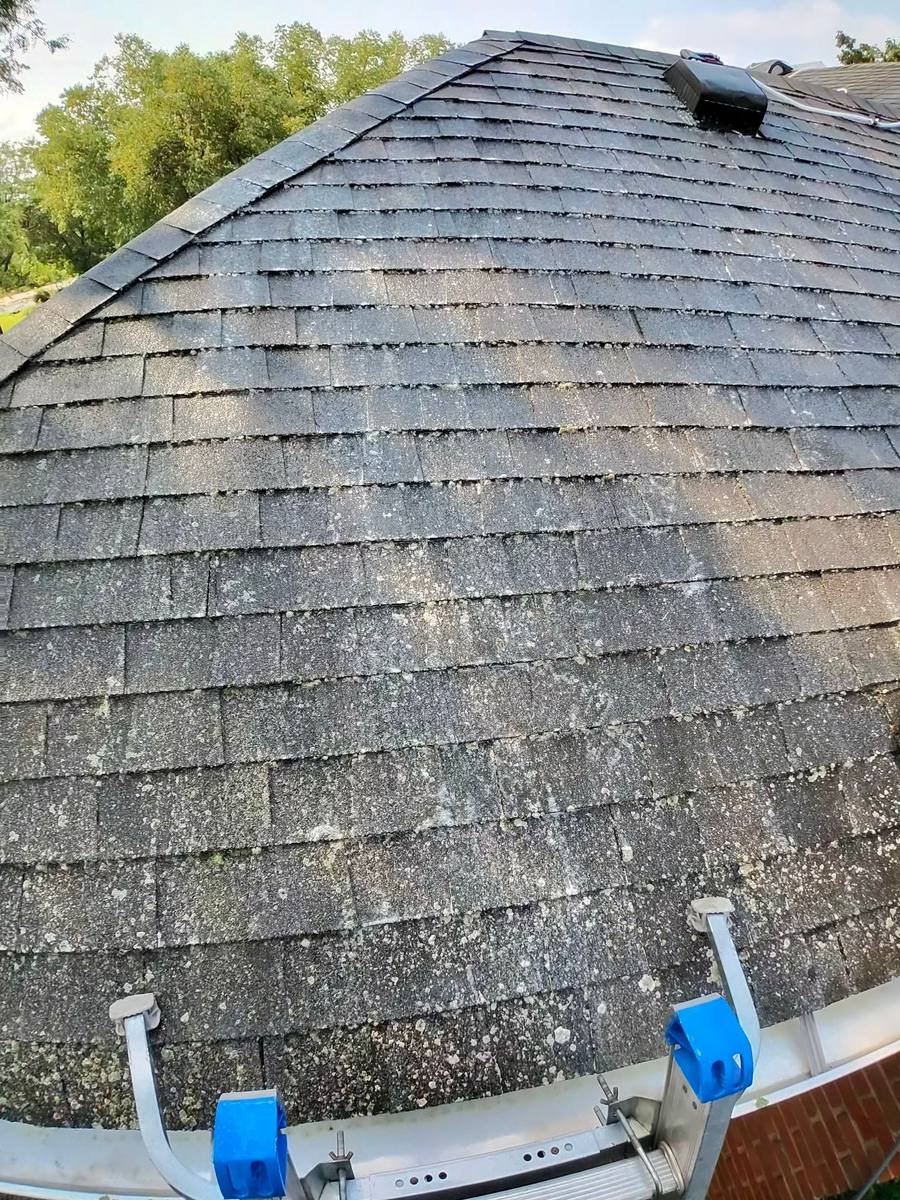
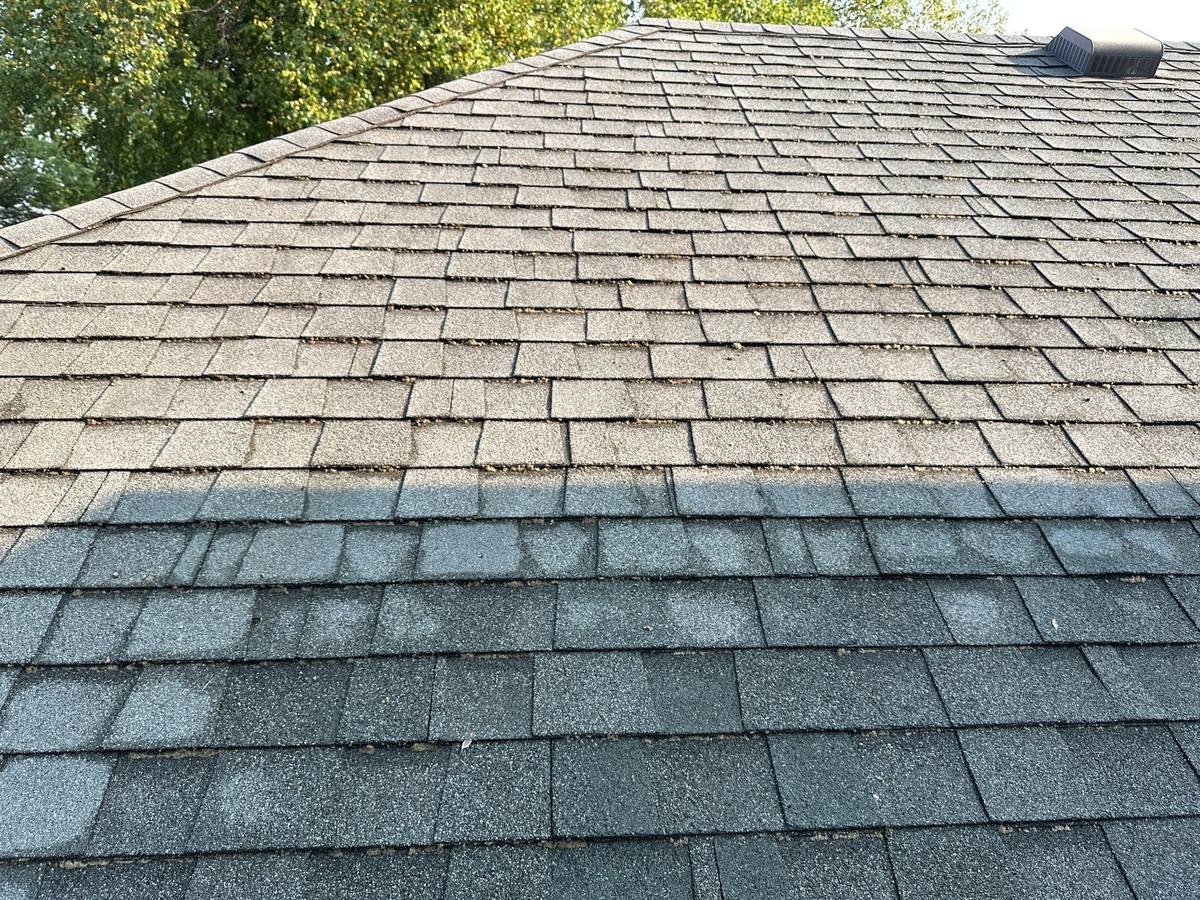
The house is a two story brick home with a tall masonry chimney, sitting under mature trees on a large lot. The shingles had the usual Chicagoland problem: dark algae staining plus raised gray green lichen gripping the granules in patches across whole slopes. Gutter guards along the eaves meant the runoff had a clear path off the roof, which matters more than it sounds like it does.
If you want the biology of why this happens on North Shore and Northwest suburb roofs, we covered it separately in why roofs develop black streaks. This post is about the method, not the cause.
What the Shingle Manufacturers Actually Say
This is not a matter of opinion between contractors. The Asphalt Roofing Manufacturers Association, the trade body for the companies that make the shingles, publishes cleaning guidance for exactly this situation. It calls for a 50:50 mix of laundry strength liquid chlorine bleach and water, applied with a sprayer, allowed to dwell on the roof surface for 15 to 20 minutes, and then rinsed thoroughly with low pressure water (Asphalt Roofing Manufacturers Association, retrieved July 2026).
Two more lines from that same guidance are the ones that get ignored on job sites. First: take proper precautions to protect landscaping and surrounding areas from the chlorine bleach solution. Second: avoid letting the solution dry completely, because that prevents complete rinsing. Read those together and the job stops being "spray the roof" and becomes a timed sequence where the rinse is the point, not the cleanup.
The same guidance is blunt about the other shortcut: never use a pressure washer on an asphalt shingle roof, because it causes granule loss and very likely premature failure of the roof system. Anyone quoting you a "power wash" for shingles is quoting you a shorter roof life. We compared the two methods in soft washing vs pressure washing a roof.
Step 1: Walk the Property Before Anything Gets Wet
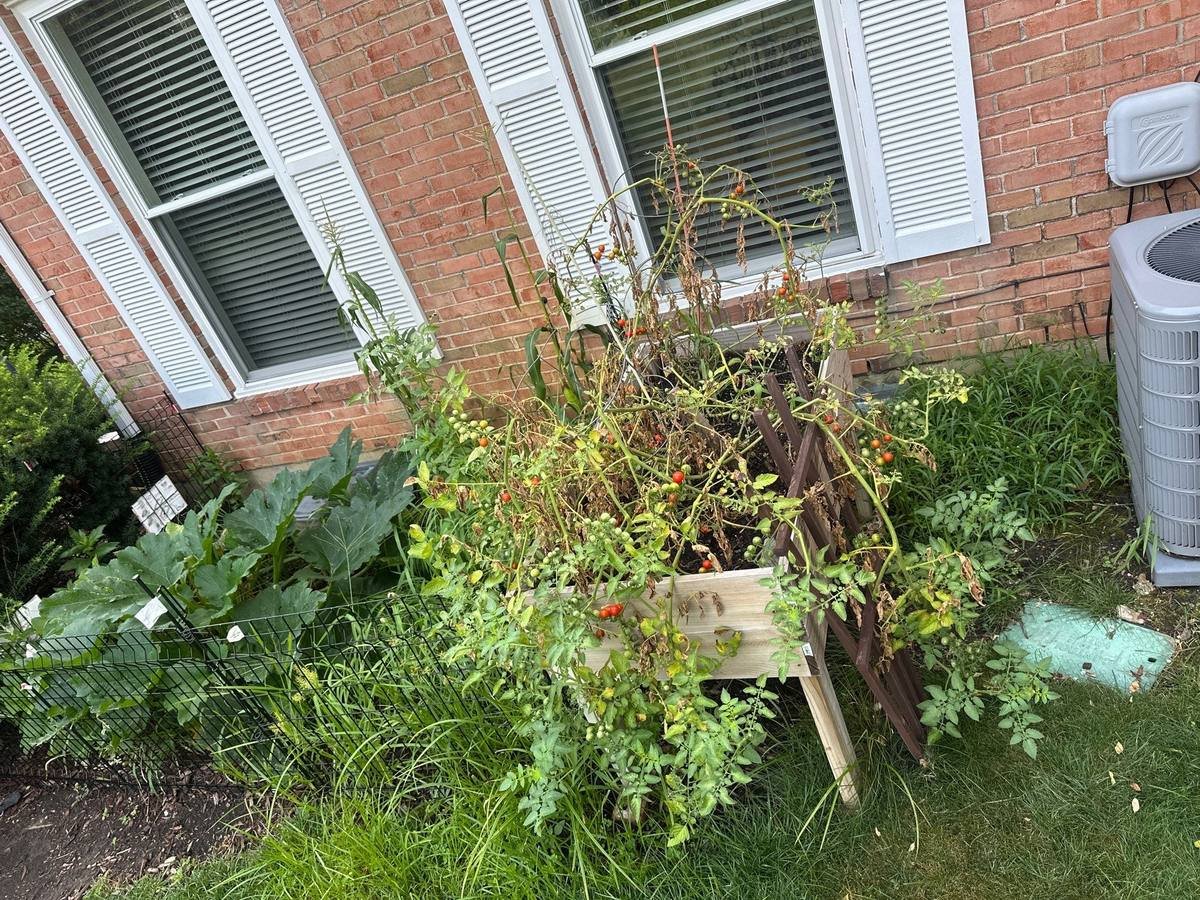
The first pass on this job had nothing to do with the roof. It was a walk around the house looking at where water was going to end up. On this property that meant perennial beds tight against the foundation, a vegetable patch with tomatoes staked against the brick, established shrubs under most of the drip line, lawn on every side, and an asphalt driveway on a slope.
That walk decides the order of the day. Slopes that drain onto planted beds get handled differently from slopes that drain onto pavement. It also flags anything that has to be closed or covered first: open windows, patio furniture, a grill, light fixtures, anything with an air intake.
Step 2: Pre-Wet Everything the Runoff Will Touch
Plants are not protected by tarps. Tarps trap heat, blow around, and funnel concentrated runoff into whatever they do not cover. Plants are protected by water. Soaking the beds, the shrubs, the lawn strip along the house, and the driveway before the first drop of solution goes on the roof does two things: it fills the soil so it cannot absorb much more, and it means any runoff that arrives is landing in water and diluting immediately.
Pre-wetting is not a one time thing either. On a hot July afternoon, beds that were soaked at nine in the morning are dry again by noon. They get wet again before each new roof section, and again while the roof is being rinsed. This is the least glamorous part of the day and it is the part that decides whether the customer still has a garden in August.
Step 3: Apply the Solution at Low Pressure
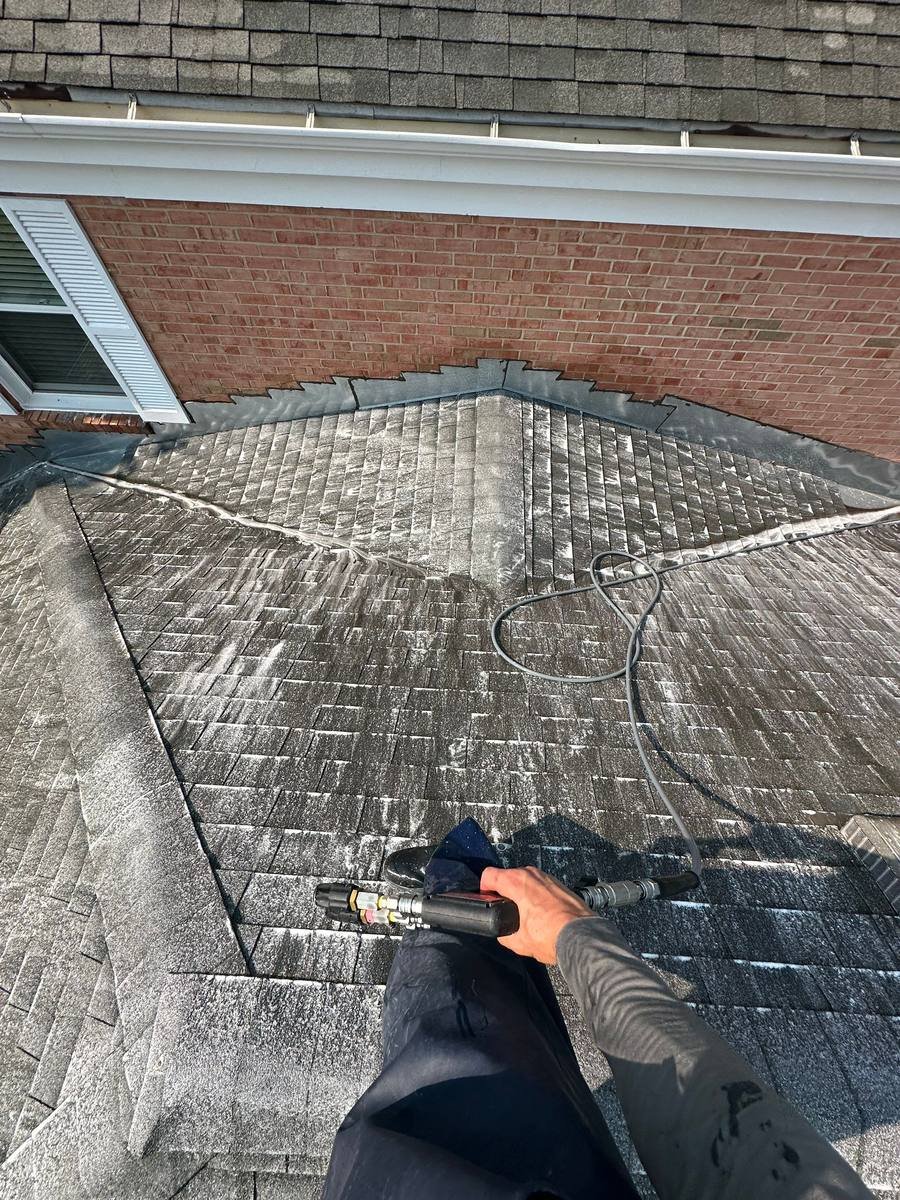
Soft washing does the work chemically. The solution is applied at garden hose pressure through a low pressure tip, laid onto the shingles from the ridge down so it flows with gravity across the surface rather than being driven up under the courses. Nothing about this step should move a granule. If shingle grit is coming off into the gutter during application, the pressure is wrong.
We work in sections rather than doing the whole roof at once. A section is whatever we can apply, dwell, and rinse before the sun dries it out. On a hot exposed slope that section is small. In shade it can be a whole plane. Working in sections is the practical answer to the manufacturers' warning about not letting the solution dry.
Step 4: Dwell, and Watch the Clock
The dwell window is where the cleaning actually happens. Algae goes first and fast. Lichen takes longer and sometimes needs a second application on the same section, which is exactly what the manufacturers' guidance allows for when it notes that extended dwell times may be necessary.
What is not allowed for is letting it bake. Once the solution dries onto the shingle, you cannot rinse what is no longer liquid, and you have just guaranteed residue no matter how much water you use afterward. On a July roof in direct sun that clock is short, so the answer is smaller sections and a hose that stays close, not a faster crew.
Step 5: Rinse the Roof, All of It
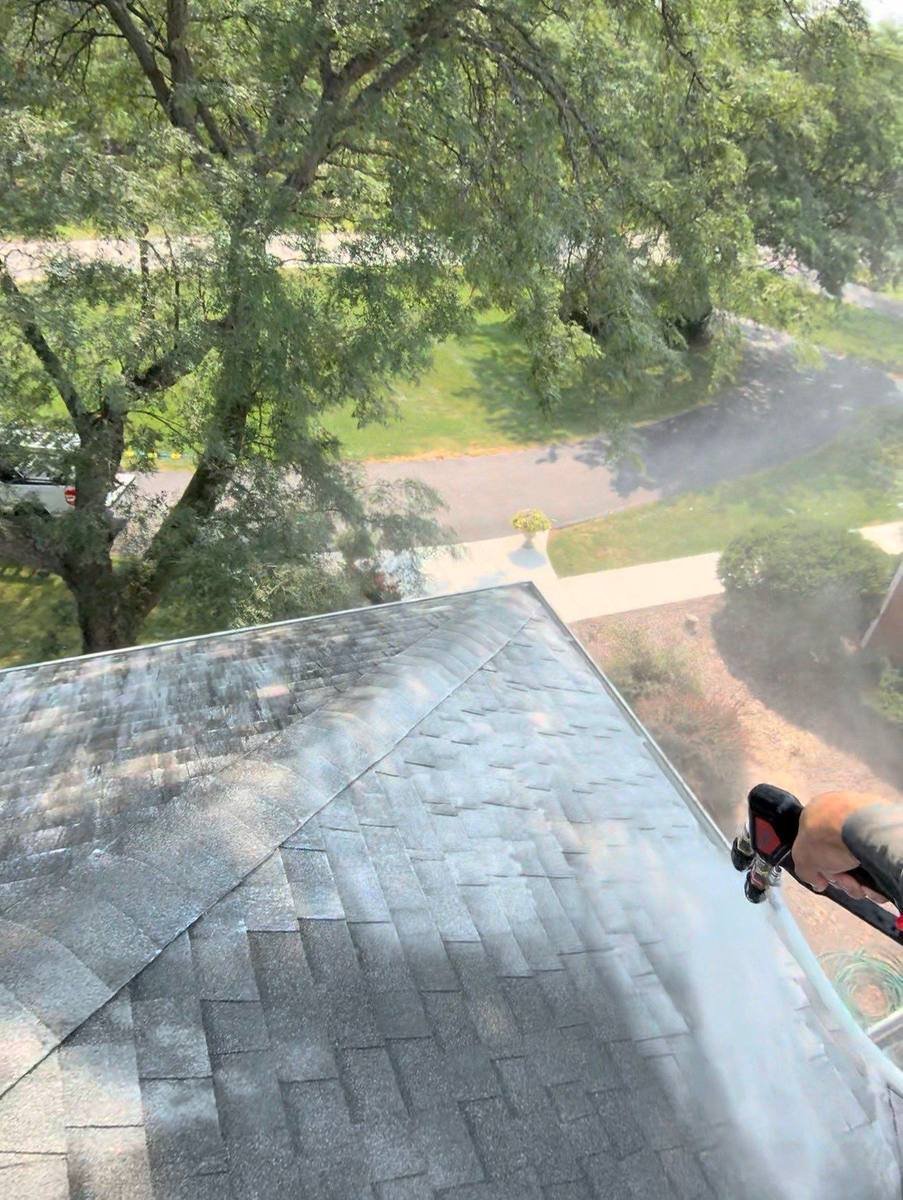
This is the step that separates a forty minute job from a full day, and it is the step that gets quietly dropped. Rinsing means running low pressure water over every treated square foot, from the ridge down, until what comes off the eave runs clear. It takes longer than the application did. It uses a lot of water. It requires moving the ladder around the house again instead of packing it away.
It also washes off what the solution killed. Dead algae, broken down lichen, tree grit, and pollen all come down with the rinse water. A roof that is only sprayed will lighten on its own over a week or two as the growth dies and weathers off, which is why the shortcut is invisible to a homeowner standing in the driveway. The difference shows up in what stays on the shingles and in what is left sitting in the gutters.
Step 6: Neutralize and Flush the Surroundings
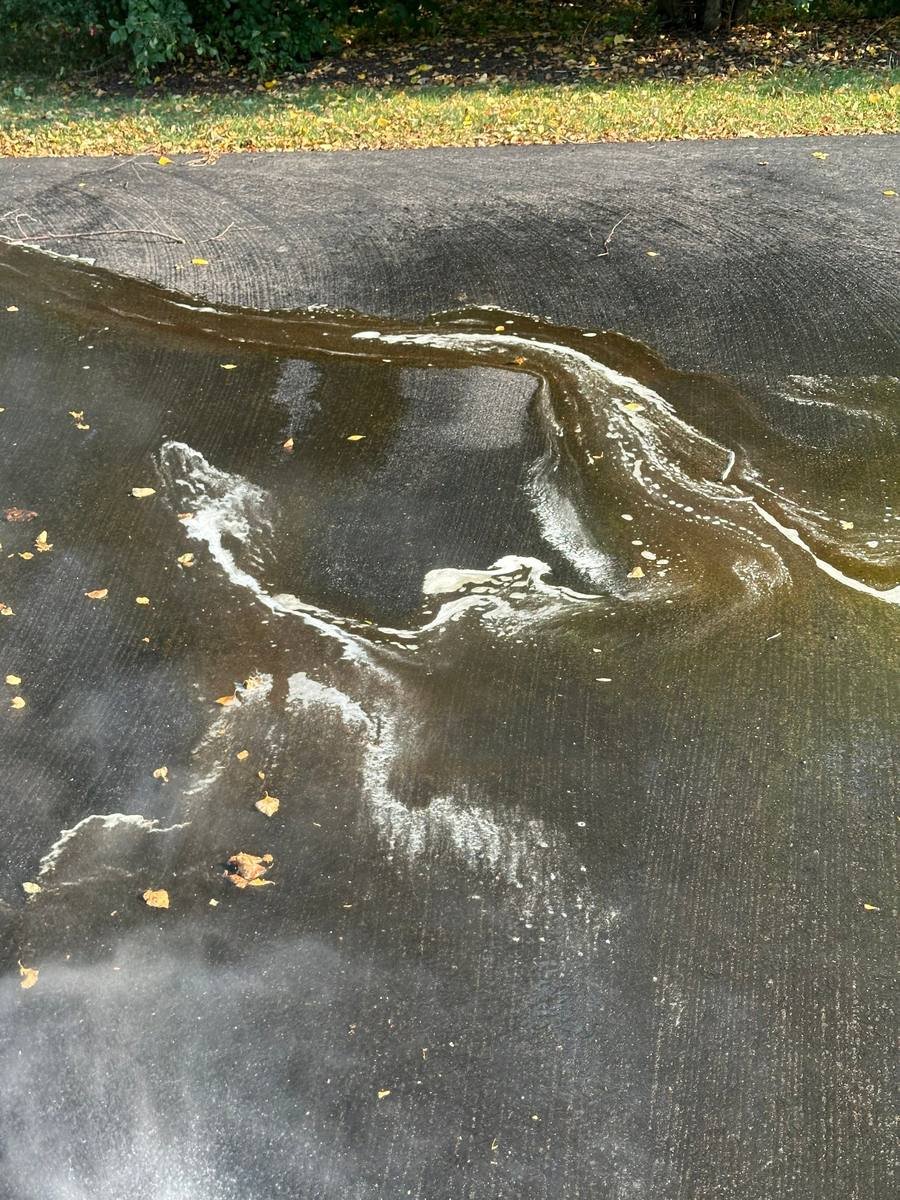
Rinsing the roof moves the problem down to the ground, so the last stage of the day is dealing with where it went. Every bed, shrub, and lawn edge that took runoff gets flushed again with clean water. Hard surfaces get the same treatment, and on a sloped driveway that means chasing the runoff downhill with the hose rather than letting it pool and dry into a stain.
The goal is simple to state: by the time we leave, nothing on the property should still be actively working. Not on the shingles, not in the gutters, not in the mulch, not on the concrete. A roof cleaning that ends the moment the roof looks good is a job that has been handed to the landscaping.
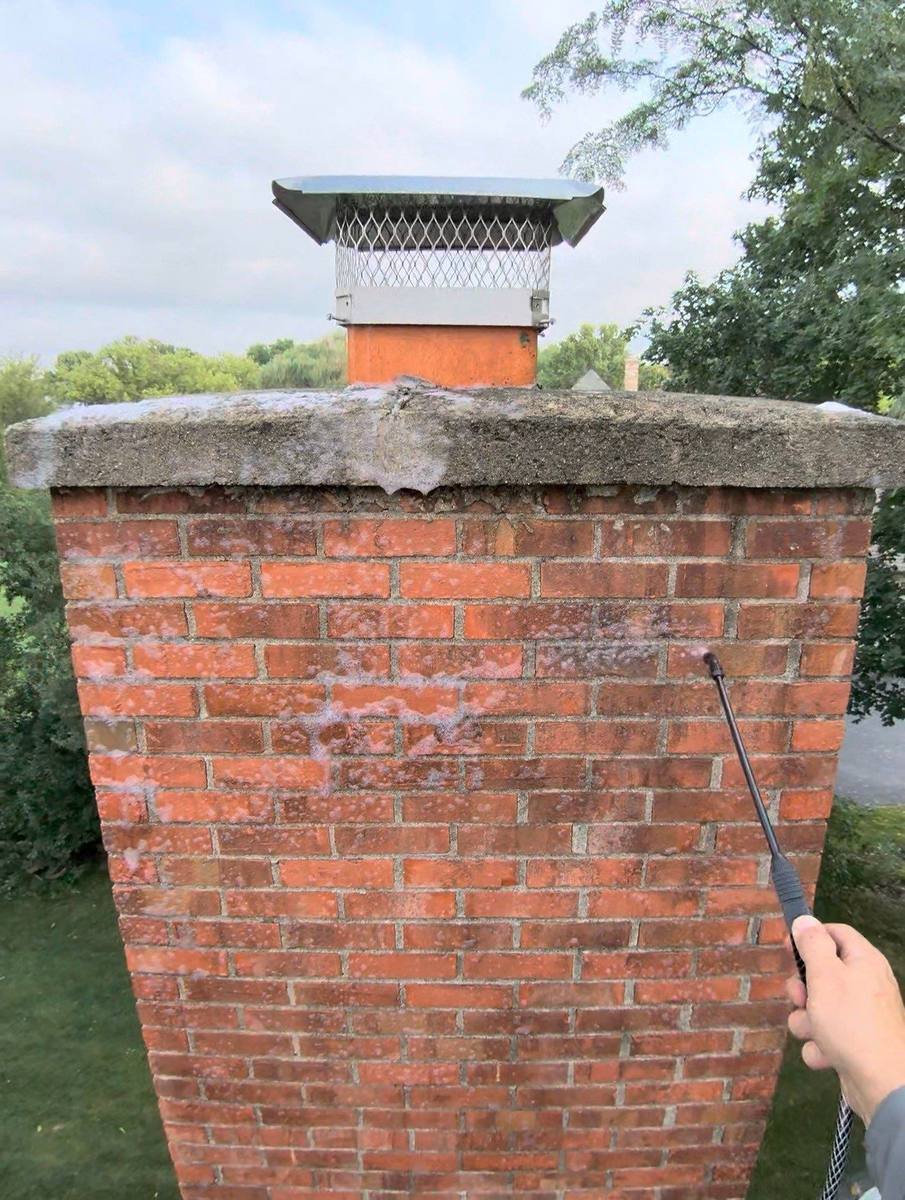
The same logic applies to anything the roof drains against. On this house the chimney masonry and the brick below the roofline were rinsed as well, because runoff crossing brick and mortar and then drying in the sun leaves a chalky bloom that is a separate job to remove later.
How to Tell Whether Your Roof Was Actually Rinsed
You cannot inspect your own roof safely, and you should not try. You can inspect the ground, and the ground tells you almost everything. After a properly rinsed roof:
- The gutters and downspouts have clearly run. There will be wet marks at every discharge point and often a scatter of grit and dead growth where the water landed.
- The driveway, walks, and patio are wet across their whole width, not just in the spot where a hose was lying.
- The beds under the drip line are soaked through, not damp on top.
- The crew was there for hours, not for one visit up the ladder. On an average two story home, application is the short part of the day.
- Nothing has a dried film on it. Run a hand over a window sill or a length of siding under the eave and it should feel like rain water, not like something that dried on.
If the roof got lighter over the following week but the driveway was dry when the truck pulled away, the roof was sprayed and left. It will look acceptable for a while. What it will not have had is the step the shingle manufacturers put in writing.
Why We Price It This Way
Our roof soft washing quotes are built around the full sequence, not the application. That is why a Pane Pal number is often higher than the cheapest quote on a roof, and why it is usually in the same range as the good ones. The variables we price on are the ones that change how long the rinse takes.
Every Roof Soft Wash:
What Is Always in the Price
- Property walk and protection plan before any water goes on
- Pre-wetting of beds, shrubs, lawn, and hard surfaces, repeated through the day
- Low pressure application worked in sections so nothing dries on the shingles
- Full low pressure rinse of every treated slope
- Neutralizing flush of landscaping, driveway, walks, and adjacent masonry
What Changes the Number
- Roof size and pitch: More surface and steeper slopes mean more rinse passes and more ladder repositioning.
- How much growth is on it: Lichen needs longer dwell and sometimes a second pass. Light algae does not.
- What is planted below: Heavy landscaping under the drip line means more pre-wetting and more flushing time.
- Access: Tight side yards, decks, and second story walls decide how the ladder and hose have to be run.
When to Have It Done
Late spring through early autumn is the working window in Chicagoland. The solution needs above freezing temperatures to work and the landscaping needs to be able to take a soaking, so the shoulders of the season get planned around the forecast rather than the calendar. Very hot, exposed midsummer days are workable but slow, because the dwell clock runs short and the sections get smaller.
If the roof is going on the market, do it before the photographs rather than after. We wrote about that timing in roof cleaning before selling your home. If the roof is cedar rather than asphalt, none of the above applies in the same way, and the cedar shake maintenance guide is the right starting point.
Roof soft washing pairs naturally with gutter cleaning, because the rinse puts dead growth into the gutters and they are worth clearing while the ladder is already up. Full details of the service are on our roof soft wash page, and the towns we cover are listed on service areas.
Frequently Asked Questions
Want the Full Process on Your Roof?
Send us a couple of photos from the ground, front and back if you can. We can usually tell from those what is growing on the roof and what the job will take, without anyone climbing anything.
Serving Inverness, Barrington, Palatine, and the North Shore